How To Create a Group Tour
Before creating a Group Tour, it is recommended to pass - Identity Verification.
In the Group Tours section - Click the button - Create a Tour.In the mobile version of the site, click on the “+” button and select - Create a Tour.
A page will open with the following fields to fill in:
In the Group Tours section - Click the button - Create a Tour.In the mobile version of the site, click on the “+” button and select - Create a Tour.
A page will open with the following fields to fill in:
1. Tour photos
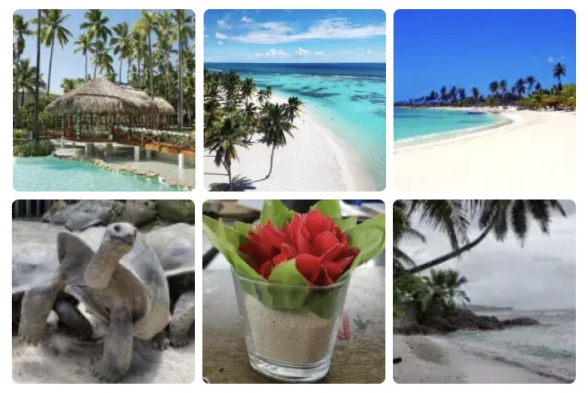
Photos are very important to attract attention to the tour.Upload up to 10 attractive photos that will show:
- Beautiful places that the group will visit.
- Delicious food that will be in the Tour.
- Interesting activities and emotions.
- Concerts and events, etc.
2. Tour title
A short, concise title is good. Try to reflect the essence of the tour, for example:- «Skiing in Italy»
- «Diving in Egypt»
- Adult Tour on Bali»
3. Travelling from
Indicate the departure country. This will help participants who want to join the tour from the very beginning of the route.4. Destination
- Country: Select the main country of the tour. If you plan to visit several countries, specify them in the tour description.
- City: Specify the first city. Add the remaining cities to the tour description.
5. Group size
Specify the number of participants. If more people want to join, you can add any number of people to the tour.6. Gender and age of people
- Select Gender of the participants (Choose 'Any' if gender is not important)
- Indicate Age of the people (Choose 'Any age' if age doesn`t matter)
7. Tour description text
Describe your tour in details:- Who is it suitable for?
- What events will take place in it?
- What is included in the Price?
- What is included in “Pocket Money”?
- Meeting point and ways to get there etc...
8. Tour dates
- If dates are known, please indicate them.
- If the tour has open dates, check the boxes 'No start date' or 'No end date'.
9. Languages
Specify the languages the group will speak to attract people who speak these languages. Limit is 2 languages.10. Keywords
People will search tours by these keywords.Select the keywords that best match your tour.
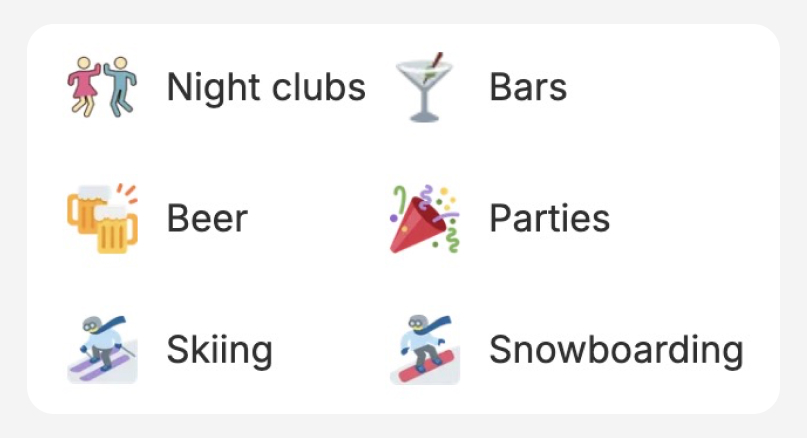
For example, for a Ski Tour:
- Main: «Skis», «Snowboard».
- Additional: «Parties», «Night clubs», «Bars».
11. Tour Price
- If your tour is - Commercial, please indicate the Tour Price and expand in detail in the description what is included to the price. Also add guarantees if have some and convenient payment methods.
- If your tour is - Not Commercial, indicate only the cost of accommodation in the price. In the Tour Description, describe all the expenses of the tour and what participants need to book themselves and how.
12. Pocket Money
Please specify an approximate amount of money each participant will need for the trip additionally.For example: “For a ski tour, indicate the money needed for: Ski-Pass, Equipment rental, etc. Describe all in the Trip Description.“13. Travel Map
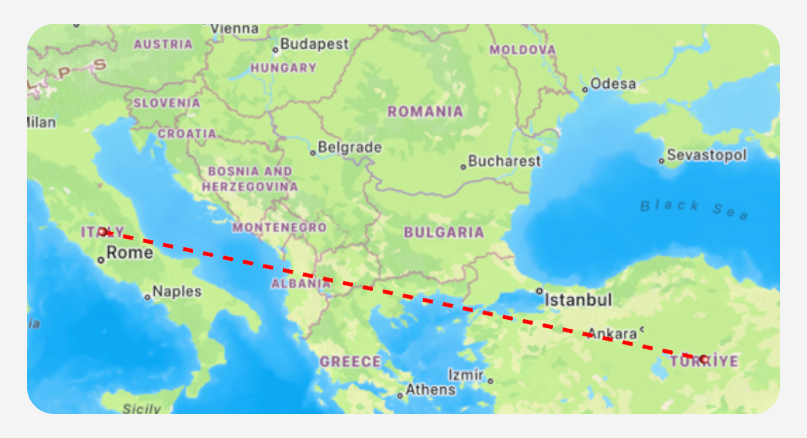
Upload an image or gif file with the route of your journey.
- A route map will add seriousness to your tour.
- You can create it in any graphic editor.
- We recommend this free app:TravelBoast
14. Travel Plan
Write out a detailed schedule by day, including times, activities, and routes. The more information, the more thoughtful and interesting the tour looks.15. In Conclusion
In the Group Tours section - Click the button - Create a Tour. If you forget to fill some mandatory fields, they will be highlighted.⚠️ Important: Create a tour ONLY if you really plan to conduct it!
Rating of Organizer
At the end of the tour, all participants will be asked to rate and leave a review to the organizer. A high rating will attract more participants to your tours in the future.